
Have you ever felt like your smartphone could do more? Discovering android hidden features can really enhance your daily use. These features often go unnoticed, yet they can make your experience smoother and more enjoyable. By exploring your device, you’ll unlock tools that improve productivity and streamline tasks. So, take a moment to dive into your settings and see what surprises await!
Quick Settings
Accessing Quick Settings
Quick Settings is your go-to feature for managing essential functions on your Android device. To access it, simply swipe down from the top of your screen. On newer models like the S24u, you can pull down the notification shade directly. If you have the S25u, swipe left to find your settings. This feature allows you to toggle options like Wi-Fi, Bluetooth, and more with just a swipe.
Customization Tips
Customizing your Quick Settings can significantly improve your smartphone experience. A 2023 study from UC San Diego revealed that users spend an average of 11.3 seconds daily navigating to commonly adjusted settings. That adds up to 67 hours a year—almost two full workdays lost! By prioritizing your most-used features, you can save time and enhance efficiency.
Here are some popular features you might want to add to your Quick Settings:
Wi-Fi and Bluetooth controls
Calendar appointments via CalenTile
Screen stay-on feature with Wakey
Weather information with Chronus
Reminder shortcuts from productivity apps
Access to system apps like Calculator and Recorder
OS-wide Reading mode
To customize your Quick Settings, follow these steps:
Swipe down to open Quick Settings.
Tap the pencil icon to enter edit mode.
Rearrange tiles, add new ones, or remove those you don’t use.
You can even use third-party apps for more customization options. Check out the table below for some features available in Android 12 and above:
Customization Option | Description |
|---|---|
Rearranging Tiles | Change the order of tiles to prioritize your usage. |
Adding Tiles | Add new tiles for quick access to frequently used features. |
Removing Tiles | Remove unused tiles to declutter your Quick Settings menu. |
Using Third-Party Apps | Explore apps like Custom Quick Settings for additional customization beyond the defaults. |
By customizing your Quick Settings, you can streamline your daily tasks and make your Android experience even better!
Digital Wellbeing
Understanding Digital Wellbeing
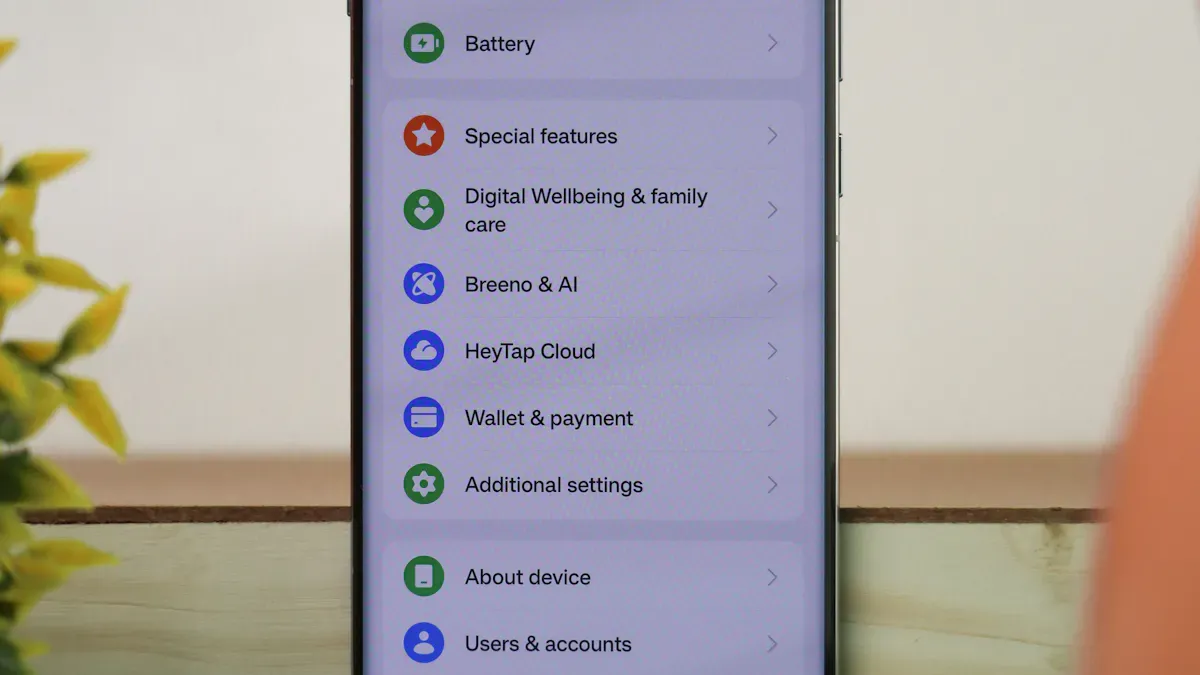
Digital Wellbeing is all about helping you manage your smartphone usage. It offers tools that let you monitor how much time you spend on your device and which apps you use the most. This feature aims to promote healthier habits and reduce overuse. You can find it in your settings under “Digital Wellbeing and parental controls.”
Here are some key features included in Digital Wellbeing:
Feature | Description |
|---|---|
App Timers | Allows you to set limits on app usage to help manage screen time. |
Focus Mode | Temporarily disables distracting apps to help you maintain focus during work or study sessions. |
Bedtime Mode | Dims the screen and silences notifications to promote better sleep and relaxation. |
Setting Usage Limits
Setting usage limits is a great way to take control of your screen time. You can easily track how long you spend on each app and set timers to help you stick to your goals. Here’s how you can set app usage limits:
Open Settings and tap Digital Wellbeing and parental controls.
Select App timers and choose your desired apps or tap All to select everything.
Tap Set timer and specify the days, hours, and minutes, then tap Done.
To edit the timer later, tap the app on the App timers tracker, adjust the options, and tap Done.
To remove a timer, tap the app on the tracker and then tap the red minus icon.
By using these features, you can create a healthier relationship with your device. According to user surveys, 33% of users find app locking features effective, while 21% appreciate over-usage warnings. These tools can help you stay mindful of your screen time and make adjustments as needed.
Embracing these hidden android features can lead to a more balanced digital life!
Gesture Navigation
Enabling Gestures
Gesture navigation offers a more fluid way to navigate your Android device. To enable this feature, follow these simple steps:
Swipe down from the top of your screen to open the notification shade.
Tap the cog icon to access Settings.
Select System.
Tap Gestures.
Choose System Navigation.
Finally, select Gesture Navigation to activate it.
Once you enable gesture navigation, you’ll notice how it replaces traditional buttons with intuitive swipes and taps. This change can enhance your speed and ease of navigation. For instance, you can swipe up to access recent apps or quickly return to the last app you used.
Tips for Efficient Use
To make the most of gesture navigation, consider these tips:
Disable Gesture Hints: Turning off visual hints can help you focus on the gestures themselves, reducing the time you spend searching for them.
Enable Haptic Feedback: This feature provides a tactile response when you perform gestures, helping you learn and remember them better.
Familiarize Yourself with Common Gestures:
Swipe down with two fingers to access Quick Settings faster.
Long-press app icons for shortcuts to specific actions.
Swipe up to view recent apps, allowing for quick multitasking.
Using gestures can feel more natural and ergonomic. They mimic everyday movements, making navigation smoother. However, if you don’t configure them properly, you might experience some discomfort. For example, excessive thumb travel can lead to wrist strain. So, take the time to adjust your settings for optimal comfort.
By embracing gesture navigation, you can enjoy a more streamlined experience on your Android device. It’s one of those hidden features that can truly transform how you interact with your smartphone!
Split Screen Mode
Activating Split Screen
Using Split Screen Mode on your Android device can boost your productivity. To activate it, follow these simple steps:
Open the first app you want to use.
Access the recent apps menu by swiping up from the bottom or tapping the square icon.
Tap and hold the app icon for the first app.
Select “Split Screen” from the options.
Choose your second app from the list that appears.
Different brands may have slight variations in this process, but the general steps remain similar. For example, you might find that some devices allow you to save app pairs for quick access later. This feature makes it easy to switch between your favorite combinations.
Best Use Cases
Split Screen Mode is perfect for multitasking. Here are some popular ways to use it:
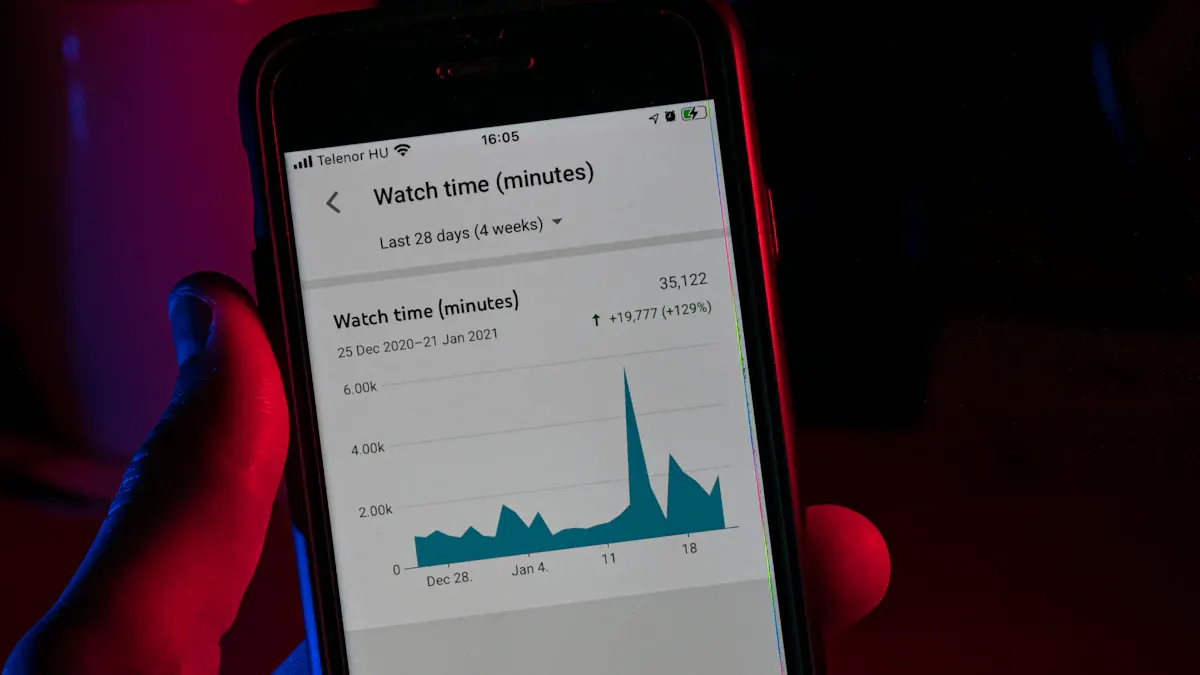
Watch news on YouTube while checking social media.
Use a web browser alongside a notes app for efficient information retrieval.
Launch Spotify and a fitness app simultaneously for a walking dashboard.
Combine Chrome with Spotify to keep track of music while browsing.
Watch a cooking video while reading the recipe instructions.
You can also enhance your workflow by discussing with clients over email while scheduling meetings in a calendar app. Or, create content while researching online. The possibilities are endless!
By utilizing Split Screen Mode, you can engage in true multitasking. This feature allows you to work on multiple tasks simultaneously without interruptions. So, why not give it a try? You might find that it transforms how you use your Android device!
Hidden Battery Optimization
Accessing Battery Settings
You can easily access battery optimization settings on your Android device. Just follow these steps:
Open Settings from your app drawer.
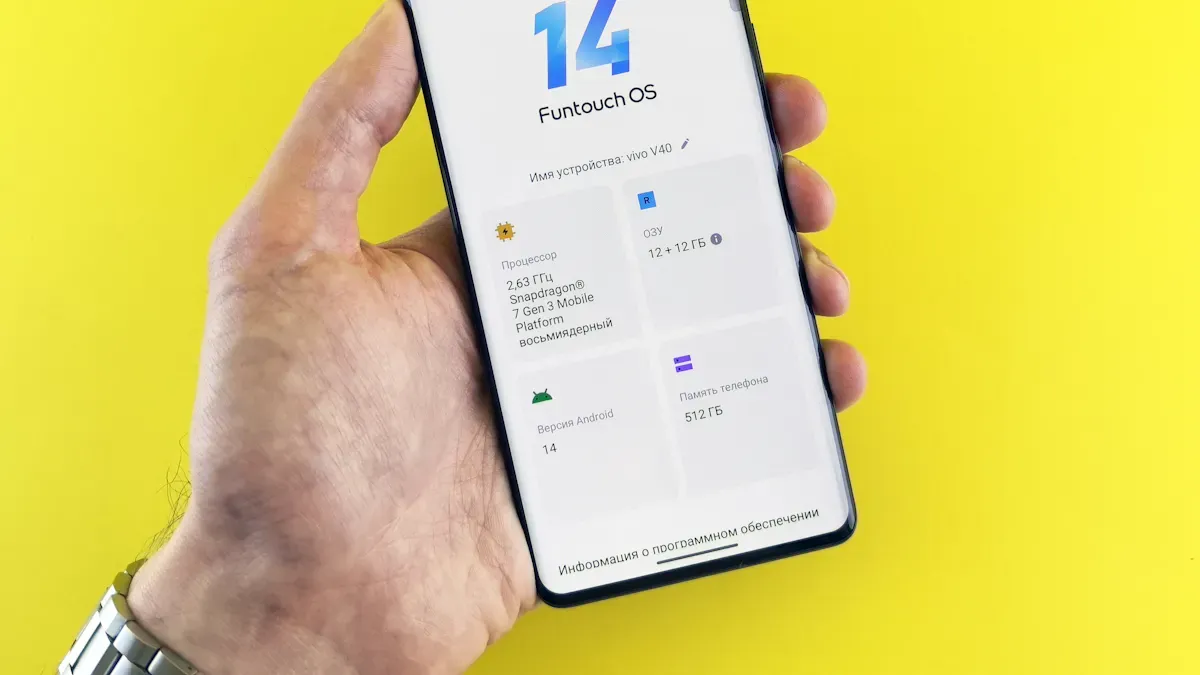
Scroll down and tap on Battery.
Look for Battery Optimization or Advanced Settings.
Here, you can see which apps are using the most battery and adjust their settings.
By managing these settings, you can significantly improve your device’s battery life.
Benefits of Optimization
Optimizing your battery can lead to several benefits. Here’s a quick look at what you can gain:
Benefit | Description |
|---|---|
Extends Battery Life | Battery optimization helps manage energy usage, reclaiming hours of usage time weekly. |
Adaptive Battery Learning | This feature prioritizes frequently used apps while limiting power consumption for rarely used ones. |
Doze Mode Optimization | Automatically hibernates unused applications, reducing background activity for better battery life. |
Scheduled Charging Optimization | Aligns charging patterns with user routines to minimize battery stress and extend lifespan. |
To maximize your battery life, consider these strategies:
Adjust screen brightness to a moderate level or enable auto brightness.
Activate dark mode on OLED screens to save battery by turning off black pixels.
Enable power-saving mode to restrict background activity and visual effects.
Manage background processes by limiting app activity to reduce unnecessary battery drain.
Keep your device cool by avoiding direct sunlight and removing cases while charging.
Also, remember to monitor app battery usage. Check which apps consume the most battery and restrict or uninstall those that you don’t use often. By following these tips, you can enjoy longer usage times and a more efficient Android experience!
Notification History
Viewing Past Notifications
Have you ever missed an important notification? With Notification History, you can easily recover those alerts. This feature allows you to track missed notifications that you may have accidentally dismissed. It also provides access to hidden alerts that might disappear quickly. All your notifications are organized in one place, making it easier to manage them.
To view your past notifications on Android 12 and later, follow these steps:
Swipe up from your home screen to open the app drawer menu.
Tap the cog wheel icon to open your Settings.
Open Notifications.
Select Notification history.
Turn on the Use notification history toggle if it is not already activated.
Once you enable this feature, you can keep track of everything you might have missed!
Managing Notifications
Managing your notifications becomes a breeze with Notification History. After enabling it, you can view your notifications history by swiping down on the notification shade and selecting the History option at the bottom. This shows notifications from the past 24 hours.
If you accidentally dismiss a notification, you can check the history instead of reopening apps. You can also adjust notification settings for specific apps to reduce clutter in the history. This way, only important notifications remain visible.
For Galaxy device users, navigate to Settings, tap Notifications, then Advanced settings, and toggle on Notification history. This ensures you won’t miss important alerts, as it saves recently dismissed notifications for later viewing.
With these tools, you can take control of your notifications and stay organized throughout your day!
Smart Lock
Setting Up Smart Lock
Smart Lock is a fantastic feature that keeps your Android device unlocked in trusted situations. It saves you from constantly entering your passcode or pattern. To set it up, follow these steps:
Ensure you have a screen lock set up.
Open the Settings app on your phone.
Navigate to Security > Advanced settings > Smart Lock. If you don’t see ‘Security,’ select Security & location.
Input your PIN, pattern, or password.
Choose an option and follow the on-screen instructions.
Once you complete these steps, you can enjoy the convenience of Smart Lock!
Trusted Locations and Devices
With Smart Lock, you can add trusted locations and devices. This means your phone stays unlocked when you’re at home or connected to a trusted Bluetooth device. Here’s how to add trusted locations:
Open the Settings app on your device.
Navigate to Security.
Select Smart Lock.
Choose Trusted Devices to add or remove devices as needed.
Adding trusted locations and devices enhances your experience. You can access your phone quickly without worrying about security. However, remember that Smart Lock can introduce new security vulnerabilities if not used carefully. It’s still better to lock your phone with Smart Lock enabled than to leave it unlocked. Always evaluate the security implications of each Smart Lock setting before enabling it.
Here’s a quick look at the benefits of using Smart Lock:
Benefit | Description |
|---|---|
Easy Access | You can access your device without entering passcodes under predefined circumstances. |
Convenience | Set specific conditions for unlocking your device, enhancing your user experience. |
Boosts Productivity | Reduces time spent entering passwords, allowing for more efficient use of your device. |
Seamless Device Transitions | Facilitates easier transitions between devices, such as moving from an Android phone to a Chromebook. |
By using Smart Lock, you can enjoy a more convenient and efficient Android experience!
Unlocking the hidden features of your Android device can truly enhance your daily experience. You can save time, boost productivity, and enjoy a more personalized smartphone. So, why not take a moment to explore these tools? Dive into your settings and discover what your device can do for you. You might be surprised by how much easier your life can become with just a few taps!
FAQ
What is Quick Settings in Android?
Quick Settings lets you access essential features like Wi-Fi and Bluetooth with a simple swipe down from the top of your screen. You can customize it to include your most-used settings for easier access.
How do I enable Digital Wellbeing?
To enable Digital Wellbeing, go to Settings, then tap Digital Wellbeing and parental controls. Here, you can monitor your app usage and set limits to promote healthier smartphone habits.
What is Gesture Navigation?
Gesture Navigation replaces traditional buttons with swipes and taps. You can enable it in Settings under System > Gestures. This feature makes navigating your Android device smoother and more intuitive.
How can I use Split Screen Mode?
To use Split Screen Mode, open an app, access the recent apps menu, and tap the app icon. Select “Split Screen” and choose a second app. This allows you to multitask efficiently.
What is Smart Lock?
Smart Lock keeps your Android device unlocked in trusted situations, like at home or when connected to a trusted Bluetooth device. You can set it up in Settings > Security > Smart Lock.
